AdSense

Showing posts with label home decor. Show all posts

Thursday, August 20, 2015

Mirror Gallery Stair Wall


One thing I find challenging in my house is how low the ceilings are. Even over the stairs it feels closed off and makes me a little claustrophobic.

To help reflect light and make things seem brighter and more open, I've been putting mirrors parallel to the handrail. 


There's no natural light at the top of the stairs, so forgive these dark images.


I've been able to find most of the mirrors from thrift stores and on clearance at Hobby Lobby (love the 80-90% clearance sales) and spray paint them. I also got a little creative with some things I already had on hand.


Linking to: Creativity Unleashed 83, That DIY Party. Merry Monday 68, The Scoop 185, 282 Inspire Me Tuesday, Inspire Me Monday 74, Show and Share 276, Tutorials and Tips Link Party 223, Be Inspired 175, Wow Us Wednesday 236, Wake Up Wednesday 83, FDTR 181, Vintage Inspiration Party 203, Dream Create Inspire, Link Party Palooza, Get Your DIY On,      

Thursday, July 23, 2015

DIY Harry Potter Map Canvas


I've been looking for something large to cover some wall space in my Bonus Room, preferably a map. Since most of our books are in this room, I thought a literary map might be fun, but those can get pricey. Then I discovered a site called Spoonflower. It's a company that prints fabric. You can create your own design, upload an image, or select a design from the marketplace. You even select what type of fabric it's printed on. In the marketplace, I found some Harry Potter Map fabric!  I decided to make a wooden frame and wrap the fabric around it to look like a canvas.

One yard will give you two full maps, so I can either sell the second one or give it as a gift. I got basic cotton ultra and selected "yards (42" width)" under size and amount.


Here it is once I got it in the mail. As you can see, if I cut the two maps apart, there's not a whole lot of room left for wrapping it around a frame.


I decided to make my frame 16" x 39" so the image would be centered with enough room on the bottom to fold it over. This also allowed a tiny bit of room to stretch the fabric, so I could get a nice tight look. I used two 6' 1x2s and cut them together, so my sides would be exactly the same length.


I used 1/2" staples on the corners on the back of the frame.


I put the fabric through the dryer to help loosed the creases from being folded in the mail. Then I ironed it. Laying the image face down, I centered the frame as best as I could. I started with the bottom where I didn't have much extra fabric to wrap over. I did three staples on the bottom.

Then, pulling the fabric so it was pretty taut, I did three staples on the top.

Then I did the same thing with three staples on both sides. It was starting to look nice and tight in the middle!

I kept working my way out to the corners. Two staples on bottom, followed by two staples on the top, followed by two staples on the right, and then two on the left. It also helped to pull the fabric looking at the design on the sides to help keep it in a straight line.

Once I got to the corners, I tucked the bottom into the side and then folded the side under and over.


Then I trimmed some of the excess fabric along the wood.

And voila!

The detail on the map is really beautiful

It only took me about 20-30 minutes altogether to complete.


I love how it makes a large impact with the width, but it's not too tall, so it fits nicely on my short Bonus Room walls.

With shipping, the fabric ends up being $20.50. That's only $10.25 a map. Then with the cost of 1x2s and staples, it ends up being around $15 for one map!

Linking to: YTTS #41, Artsy Fartsy Link Party, Remodelaholic July Link Party, Link Party Palooza, That DIY Party, Show and Share 271, Merry Monday 64, Something to Talk About 27, Inspiration Monday 726, Inspire Me Monday 70, 278 Inspire Me Tuesday,The Scoop 181, Tutorials and Tips 219, Be Inspired 171, FDTR 178, Wow Us Wednesday, Wake Up Wednesday, Dream Create Inspire,   

Monday, May 25, 2015

Summer House Tour + FREE Printable


I love summer decor! Between general beachiness and the 4th of July, there are a lot of different directions you can go.

A few years ago I found this perfect piece of driftwood around Bridal Veil Falls. I drilled a hole in it for a stick and cut pieces of an old sheet for the sail. I just used white thread to hold the sail in place. It's probably one of my most favorite things!


Another free project I love, is this faux starfish and old fence picket American flag. It's held together with wood glue. I made a flour and salt dough to make the starfish. Then I painted them white and hot glued them in place.


Hint: salt looks a lot like white sand in an apothecary jar.


I had a hard time picking a patriotic song to display. I finally decided on "My Country 'Tis of Thee."


You can download an 8x10 print here.


I created the Abraham Lincoln art with my silhouette machine. 

I'll be happy to leave all this up until fall.

Linking to: Merry Monday 55, Inspire Me Monday #61, You're Gonna Love It,The Scoop 172, Inspire Me Tuesday 270, Wow us Wednesday, FDTR 169, Wake up Wednesday 70, YTTS 33, Artsy Fartsy Mama, Catch as Can 215,    

Monday, April 6, 2015

Using Table Clocks as Picture Frames


Are you ever afraid to buy a clock from a thrift store because you aren't sure if it will work once you bring it home and put batteries in? Why not repurpose one into an inexpensive, but unique frame? I love the shape of clocks and wanted to use some pretty finds to put pictures of my kids in on my new built-in shelves. The gray one is from a thrift store and used to be wood, but I painted it a while back. The white one was also from a thrift store. The alarm clock is from IKEA.


The plastic coverings on the thrift store clocks were cloudy and scratched a bit, so I took them off and used them as templates to cut out my pictures and glue them on cardboard.


For this one, I just pushed the cardboard into the sharp part of the hands in the clock face.


The picture fit inside this one in place of the plastic covering. I also spray painted the base while the face was out.


For the alarm clock, I just taped the picture on top of the glass.


I think they look great on my new shelves!


You might also like:
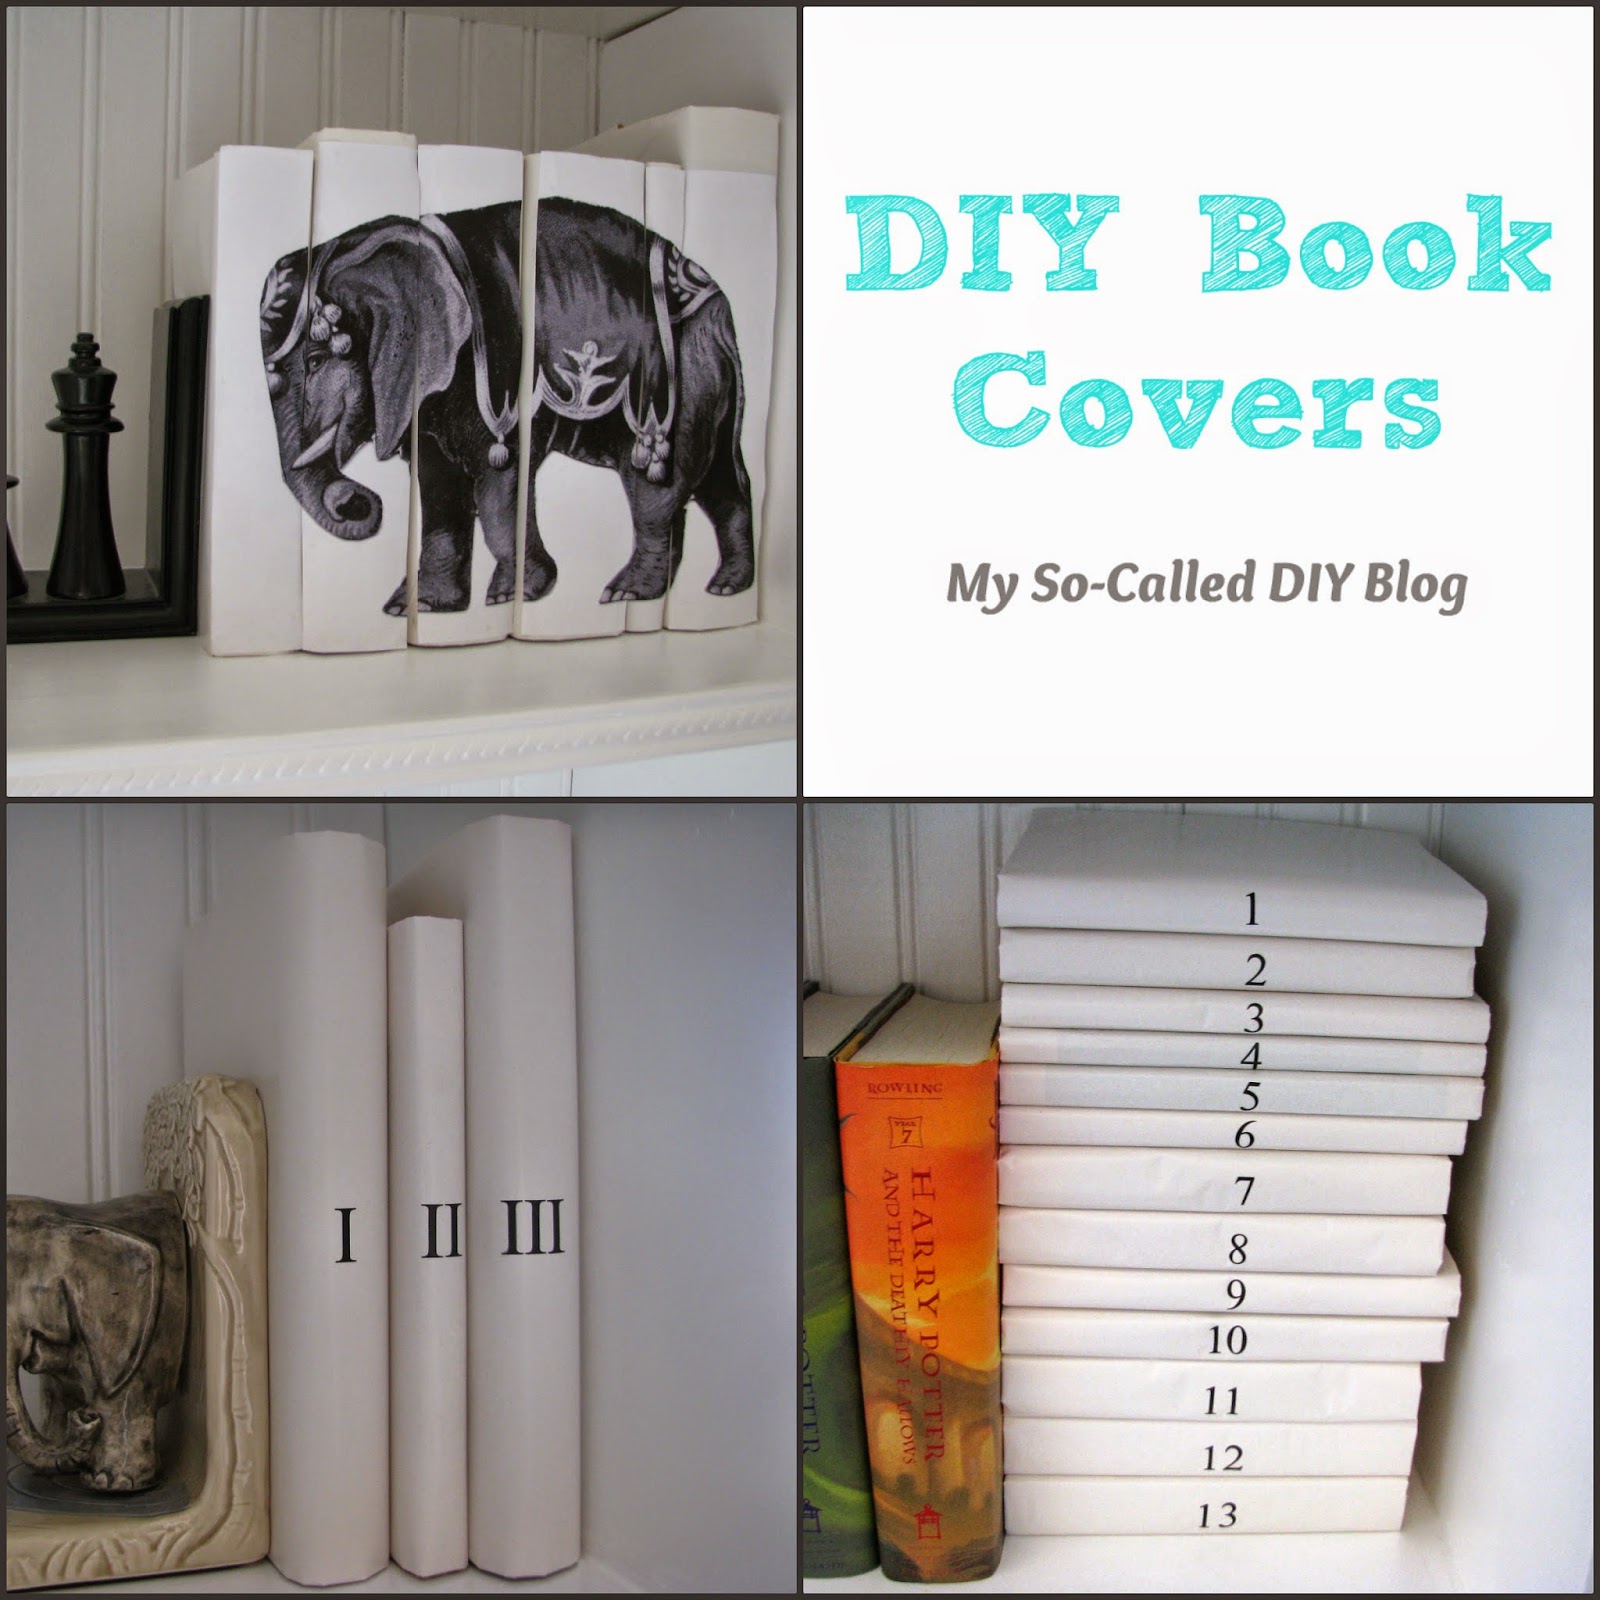
http://www.mysocalleddiyblog.com/2015/03/diy-book-covers.html


Linking to these fabulous parties:
http://www.astrollthrulife.net/2015/04/263rd-inspire-me-tuesday.htmlhttp://www.domestically-speaking.com/2015/04/inspire-me-monday-54.html?utm_source=feedburner&utm_medium=feed&utm_campaign=Feed%3A+blogspot%2FANDJ+%28Domestically+Speaking%29


http://www.kathewithane.com/2015/04/youre-gonna-love-itanything-goes-for.htmlhttp://www.stonegableblog.com/the-scoop-165/
http://thediydreamer.com/from-dream-to-reality/lets-party-fdtr-162/


http://www.savvysouthernstyle.net/2015/04/wow-us-wednesdays-216.htmlhttp://sewcraftyangel.blogspot.com/2015/04/wake-up-wednesday-linky-party-63.html


http://tatertotsandjello.com/2015/04/link-party-palooza-and-50-target-giveaway-3.htmlhttp://www.myrepurposedlife.com/2015/04/catch-as-catch-can-208.html
http://mysalvagedtreasures.blogspot.com/2015/04/vintage-inspiration-party-184.html