AdSense

Friday, December 5, 2014

Project Bonus Room: Faux Fireplace and Cabinets


Since this was my September project, of course I'm posting pictures in December...

I really wanted a faux fireplace in our house and thought this little spot in the Bonus Room would be the perfect place.


I took a lot of inspiration from the Mimi's Faux Fireplace Plans on Ana White's Blog, but I ended up having to make a lot of changes to fit it in my small space.

Front face

I used 1x12s on the sides to make it deep enough to line up with some cabinets on the side.

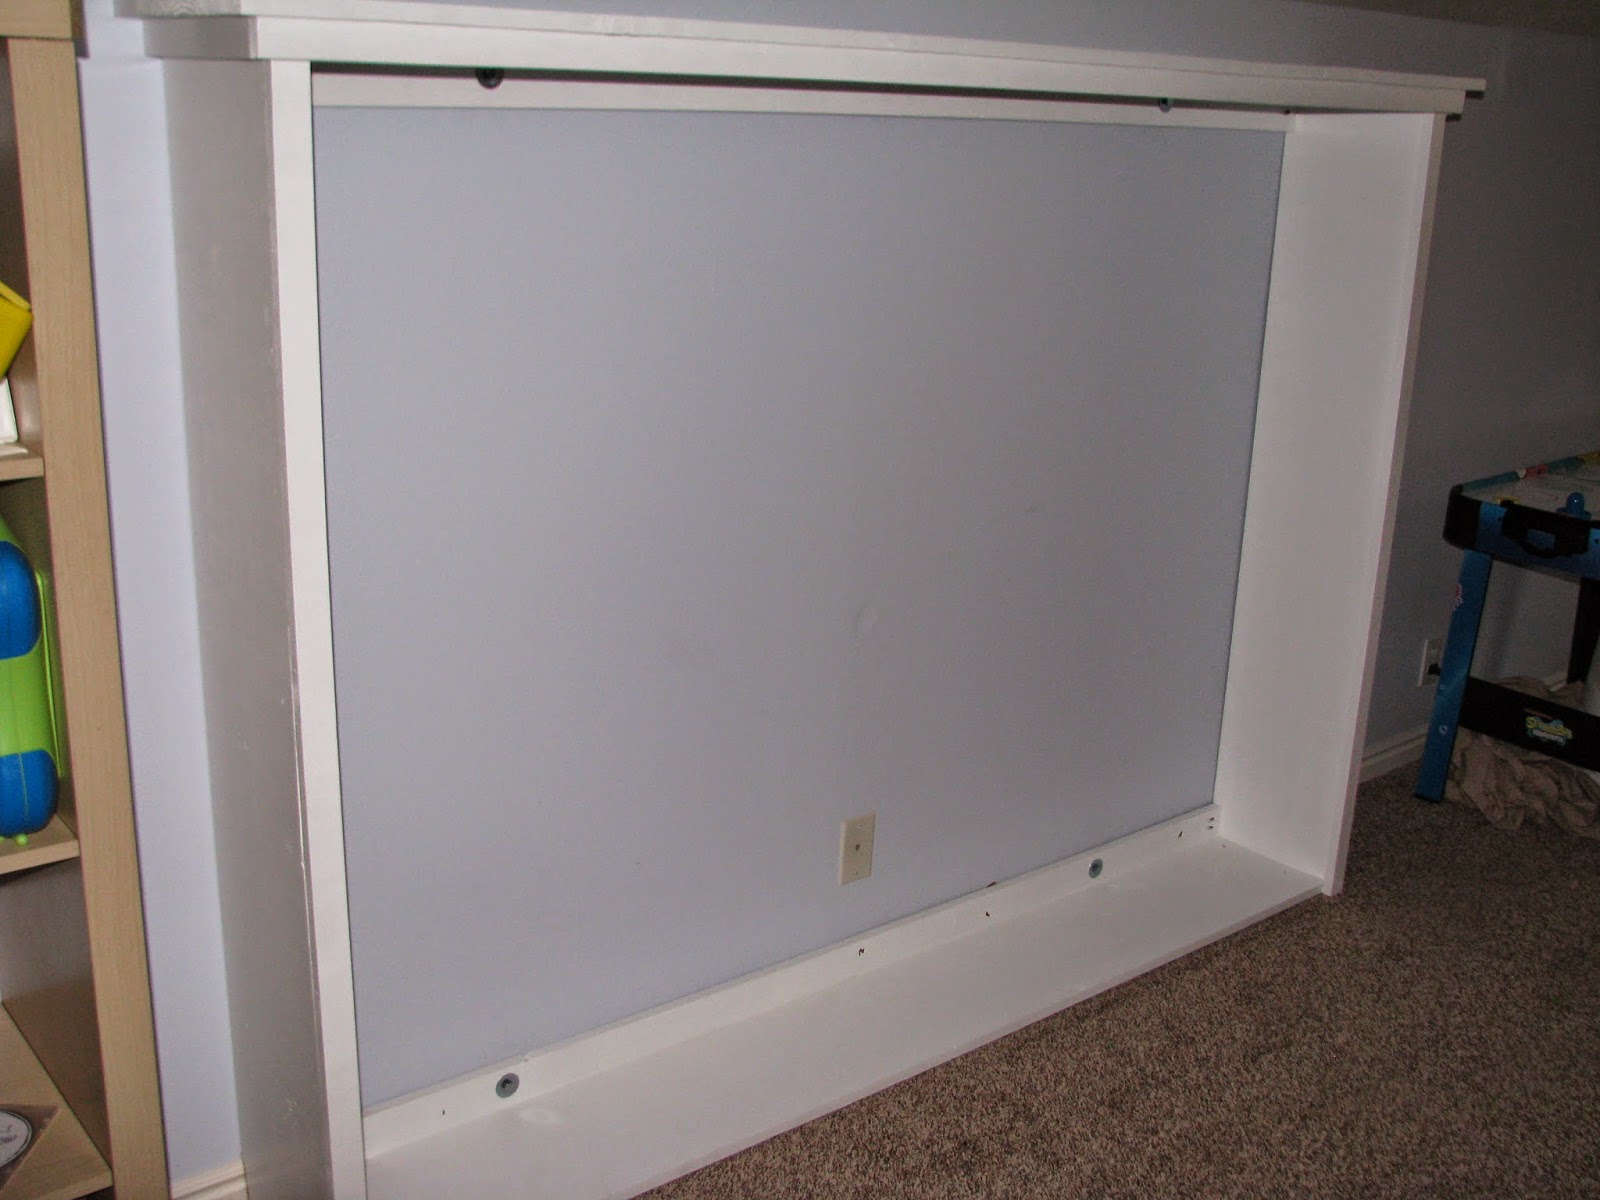
Adding support to top and bottom

Front view

Top and trim added to the front

I then started the side cabinets basing them on the Rebecca Media Center Side Base Plans on the Ana White site. I used these plans for my massive media center on my main floor.


I painted the fireplace and added a 1/4" piece of plywood in the opening.


I laid out my tile so I could see where to cut an opening.


I also cut out a piece of cement board and attached it on top. Not necessary, but I was using this project to experiment with tiling.


I used some thin strips of wood to help hold on the plywood since it got pretty heavy with the cement on it.

I used some thin molding to frame the opening.

 Then I got to work tiling.

And grouting

And caulking

This is the back splash I decided to use in my kitchen.

I wanted to have an access to the cords for my tv and various electronics, so I attached my "fire" piece with hinges on the top and magnets on the bottom. This allows me to tap it open and access a power strip and gently close it.

I attached a piece of chalkboard contact paper to a piece of plywood and then cut out a fire on my silhouette in white vinyl.
 
I made some simple Cabinet Doors using my Kreg Jig, as usual.

I decided to add some square wainscoting similar to my Tunnel Below My Stairs
Here it is taped off and ready for caulking.

 Here is the finished project. I think it's starting to class up the room a bit :)

My 5-year-old was so excited to hang up the stockings.
 

Monday, October 20, 2014

Project Bonus Room: DIY Murphy Bed


I spent most of the summer working on this Murphy bed for the bonus room. I kept thinking I would post pictures once I installed the mattress, but the mattress is currently in Calvin's room where we've been snuggling in the morning to put him back to sleep longer, so that mattress is staying put for now.

I used some Ana White plans and then modified them to fit my double mattress. I also added a massive magnet and a cam lock to keep kids from opening and closing it.

Since the original plan was for a twin mattress, I needed to attach two pieces of plywood together to make a platform large enough for a double size to rest on. I used glue, pocket holes, and mending plates to add a piece to the side and top. All-in-all it's pretty sturdy.


After adding the sides and bottom


Once it was painted and mending plates were added.


The main frame was bolted into the studs.


The platform was attached with door hinges

 
The molding on the front is just 1/4" Maple plywood ripped into 4" and 3" strips. They were strategically arranged to cover the seams where the pieces were screwed together and they give a little more reinforcement.

Here's a peek at the current construction zone in my house:

Saturday, July 19, 2014

Refab Old Laminate Book Shelf


This little dilapidated bookshelf moved to the top of my project list when it completely collapsed in my toddler's room.


Here it is in pieces.

 The plastic-y lock bolts that holds together most laminate furniture had ripped through the particle board, so I removed them and drilled some pocket holes using a Kreg Jig for when I put the pieces back together.


 Since I was going to be painting both sides of a lot of boards, I made a few painter's pyramid stands using scrap wood and 2 1/2" screws. The pyramids let you paint both sides of a board at once since you can immediately flip it over and paint the other side.

I drilled holes all the way through the squares
Then I used my countersink bit so the head of the screw would be flush with the wood once drilled in
 Then I put in the screws
 and I had some pyramids to rest and flip my boards on when I painted them. The tips of the screws leave tiny marks on the paint, but once you paint a second coat, you can't tell anymore.


Since it was laminate, I lightly sanded the surface to try to get a good paintable surface without wearing it all the way down to the particle board. It took two coats of Zinsser primer and about 3 coats of semi-gloss paint.

I put the pieces of the bookcase back together.

And flipped it over so I could add some feet that I got for $1 a piece at the Restore. I used some scrap 2x4s and 1x4s to raise up and attach a metal plate.


I used wood glue and my nail gun to attach the wood and then screwed the legs into place.

At this point, Calvin found his missing bookcase and thought it made a great bench.


I wanted to add some thin crown molding at the top, so I attached a scrap shelf to the top, overhanging so there was 1/2" on all sides once the crown was in place.


I also added a narrow base molding to the bottom. Here it is in all it's hodge podge glory!


It went back outside to get painted with my paint spray gun and then I went over the top with a roller.

To add some more stability, I cut a piece of 1/4" birch plywood to go on the back. I put a map on the board before I nailed it in place. I've been irritated with glue and mod-podge lately, so I just used double sided tape and was pleased with how smooth it laid down. The map it pretty thick material, so I'm not too worried about it getting torn.

(I used the other half of the map last year to mod podge on this chair)


It had been several days since I painted the shelves, so the paint was well set and I put them on.
 Here it is with Calvin's stuff on it.Whew! More organized.
Linking to:
http://www.funkyjunkinteriors.net/2015/02/pj-266-upcycled-link-party.html?utm_source=feedburner&utm_medium=feed&utm_campaign=Feed%3A+blogspot%2FKCcu+%28Funky+Junk+Interiors%29